7 Ways to Share Files between iPhone and PC

File sharing between iPhone and PC can be realised through various methods, each of which has its own features and usage scenarios. Here are some common methods:
1. Use iTunes
- Steps: Connect your iPhone to PC via USB, open iTunes, and then you can transfer files via "File Sharing" function.
- Advantages: Suitable for transferring large files without network connection.
- Disadvantages: Requires iTunes to be installed, and the operation is relatively cumbersome.
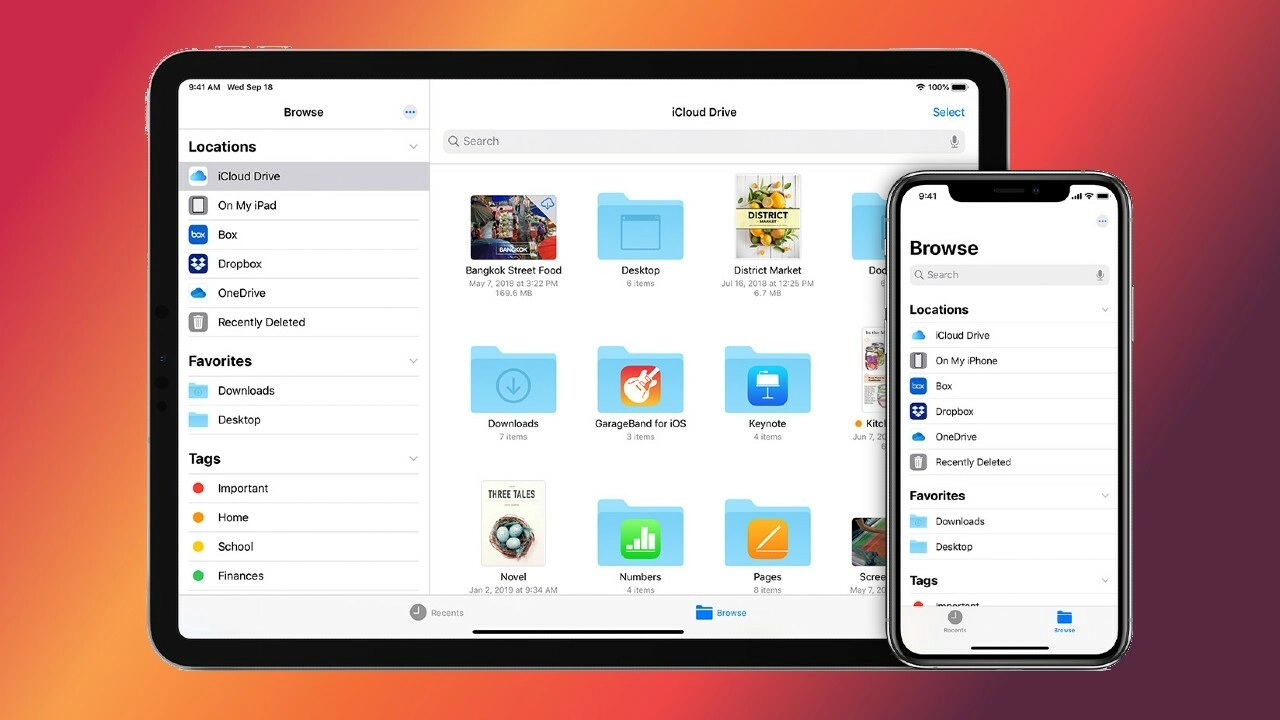
2. Using iCloud
- Steps: Save files to iCloud Drive on iPhone, and access them on PC by visiting iCloud.com on the web or installing iCloud client.
- Pros: Seamlessly integrated within Apple's ecosystem, supports multiple file types, syncs across devices.
- Cons: Dependent on network connection, limited free storage space.
3. Using Email
- Steps: Add a file as an attachment to an email, send it from iPhone to your own email address, and then open the same email address on your PC to download the attachment.
- Pros: Simple and easy to use, no additional software or apps required.
- Disadvantages: There is a limitation on file size, larger files may need to be sent in multiple times.
4. Use third-party cloud storage services
- Examples: Dropbox, Google Drive, OneDrive, etc.
- Steps: Upload files to the selected cloud service on iPhone, log in the same account on PC to download the files.
- Advantages: Supports multiple platforms for easy file management and sharing.
- Disadvantages: Depends on network connection, may need to pay for more storage space.
5. Use file transfer apps
- Example: SHAREit, Zapya.
- Steps: Install the apps on iPhone and PC, and establish a connection through the apps to transfer files.
- Advantages: Usually supports wireless transfer, fast and easy to operate.
- Disadvantages: Need to install additional software on both ends.
6. Use AirDrop (for those who own a Mac)
Although AirDrop is Apple's internal solution, it doesn't support Windows PCs. but it's a very convenient and fast way for cross-device (between iOS devices and Macs) file sharing.
7. Use tempdrive.zip or a similar service
Steps:
- Uploading files: Visit file.io or a similar site and upload the files you need to share. The upload process is usually very simple, just drag and drop the file or select the file to upload.
- Share Link: After the file is uploaded, the service generates a unique link. You can send this link to the person who needs the file.
- Download file: the recipient downloads the file by accessing this link. Depending on the service, the file is automatically deleted from the server after a certain period of time or after it has been downloaded a certain number of times.
Advantages:
- Simplicity: easy and intuitive operation without the need to register an account.
- Privacy protection: files are automatically deleted when set conditions are met, helping to protect information security.
- No Long-Term Storage Required: suitable for situations where you don't want or need to store files in the cloud for a long period of time.
Disadvantages:
- Limited number of downloads and time: once the maximum number of downloads or storage period is reached, the file will be deleted permanently.
- File Size Limit: this type of service may have a limit on the size of files that can be uploaded.


